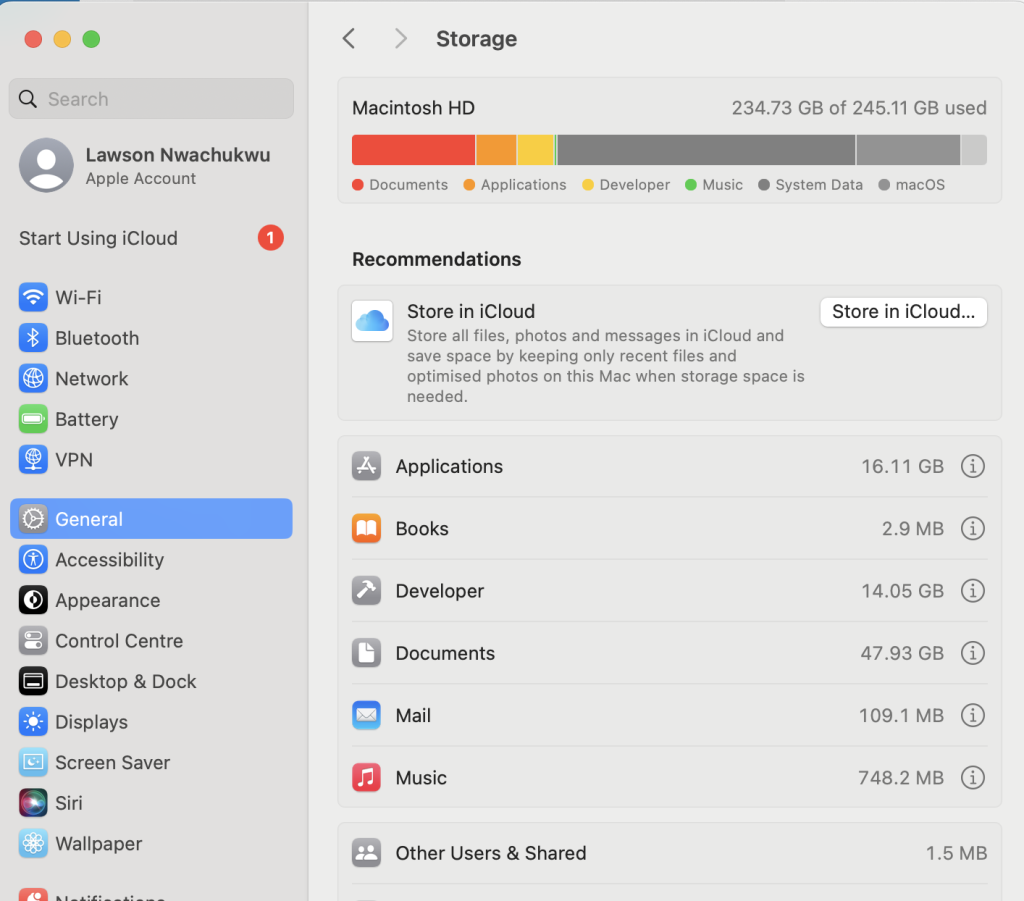
An Apple ID is your gateway to the Apple ecosystem, allowing you to access services like the App Store, iCloud, iMessage, FaceTime, and more. Whether you’re setting up a new Apple device or just want to create an account, this guide will walk you through the process of creating an Apple ID. Follow these simple steps to get started.
Why Do You Need an Apple ID?
Before outlining the steps to create your Apple ID, let me explain why having one is essential:
- Access to Apple Services: Use the App Store, iTunes, Apple Music, iCloud, and more.
- Device Synchronization: Sync your data (photos, contacts, notes) across all Apple devices.
- Security: Enable features like Find My iPhone and two-factor authentication.
- Personalization: Customize your device settings and preferences.
Step 1: Choose Your Device
You can create an Apple ID on any Apple device (iPhone, iPad, Mac) or even on a Windows PC or Android device using a web browser. Here’s how to do it on different platforms:
Step 2: Create an Apple ID on an iPhone or iPad
- Open Settings:
- Tap the Settings app on your device’s home screen.
- Sign In:
- If you’re not already signed in, tap Sign in to your [device] at the top of the Settings menu. Make sure you have an active internet connection. See How to Borrow Data on Airtel.
- Create Apple ID:
- Tap Don’t have an Apple ID or forgot it?
- Select Create Apple ID.
- Enter Your Details:
- Provide your first name, last name, and birthdate.
- Tap Next.
- Choose an Email Address:
- Use an existing email address or create a new iCloud email (e.g., truthpost@icloud.com).
- Tap Next.
- Create a Password:
- Choose a strong password (at least 8 characters, including a mix of letters, numbers, and symbols).
- Tap Next.
- Verify Your Phone Number:
- Enter a phone number for verification and account recovery.
- Tap Next.
- Agree to Terms and Conditions:
- Read Apple’s terms and conditions, then tap Agree.
- Verify Your Email:
- Apple will send a verification code to your email. Enter the code to complete the process.
Step 3: Create an Apple ID on a Mac
- Open System Preferences:

- Click the Apple menu () in the top-left corner and select System Preferences.
- Sign In:
- Click Sign In at the top-right corner.
- Create Apple ID:
- Click Create Apple ID.
- Enter Your Details:
- Fill in your name, birthdate, and email address.
- Click Continue.
- Create a Password:
- Choose a strong password and click Continue.
- Verify Your Phone Number:
- Enter a phone number for verification and click Continue.
- Agree to Terms and Conditions:
- Read and agree to Apple’s terms and conditions.
- Verify Your Email:
- Check your email for a verification code and enter it to complete the process.
Step 4: Create an Apple ID on a Windows PC or Android Device
- Visit the Apple ID Website:
- Open a web browser and go to appleid.apple.com.
- Create Apple ID:
- Click Create Your Apple ID.
- Enter Your Details:
- Fill in your name, birthdate, and email address.
- Click Continue.
- Create a Password:
- Choose a strong password and click Continue.
- Verify Your Phone Number:
- Enter a phone number for verification and click Continue.
- Agree to Terms and Conditions:
- Read and agree to Apple’s terms and conditions.
- Verify Your Email:
- Check your email for a verification code and enter it to complete the process.
Step 5: Set Up Two-Factor Authentication (Optional but Recommended)
Two-factor authentication adds an extra layer of security to your Apple ID. Here’s how to enable it:
- Go to Settings:
- On your iPhone or iPad, open Settings and tap your name at the top.
- Password & Security:
- Tap Password & Security.
- Turn On Two-Factor Authentication:
- Tap Turn On Two-Factor Authentication and follow the on-screen instructions.
Step 6: Start Using Your Apple ID
Once your Apple ID is created, you can:
- Download apps from the App Store.
- Store files and photos on iCloud.
- Sync your data across all Apple devices.
- Use iMessage and FaceTime to stay connected.
Troubleshooting Tips
- Forgot Password?: Use the Apple ID account page to reset your password.
- Verification Issues: Ensure you have access to the email and phone number you used to create the account.
- Already Have an Apple ID?: If you already have an Apple ID, do not create a new one. Use your existing account to sign in.
Conclusion
Creating an Apple ID is a simple process that unlocks the full potential of your Apple devices and services. By following this guide, you can set up your account in just a few minutes and start enjoying the benefits of the Apple ecosystem. Remember to keep your login details secure and enable two-factor authentication for added protection.
If you encounter any issues, visit Apple’s Support Page or contact Apple Support for assistance.


